Create a design, get the file your print provider asks for and show it on the products you sell, in scenes no other shop has. Mockably does the design, the file prep and the mockups in one studio.
The problemYou need more designs than you have time to draw.
#1
In the studio
Designs froma sentence.
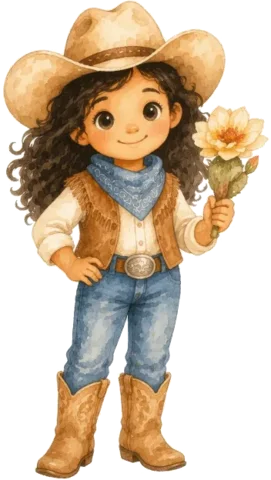
Describe the design in Image Creator, pick the image model and the aspect ratio, and keep the results you like. On paid plans, put options in braces to try several versions in one run, then turn the winner into new colourways with Colourways.
The problemThe print provider wants a large transparent PNG, and the file is small with a white background.
#2
In the studio
Ready forthe printer.
Remove the background for a transparent PNG at the original size, upscale it for more detail, or convert it to SVG when you need clean edges at any size. At 300 DPI every inch of print needs 300 px, so a 12 × 16 in print area needs 3600 × 4800 px.
The problemThe print provider's free mockup is the same photo every seller of that blank uses.
#3
In the studio
Mockupsin your own scene.
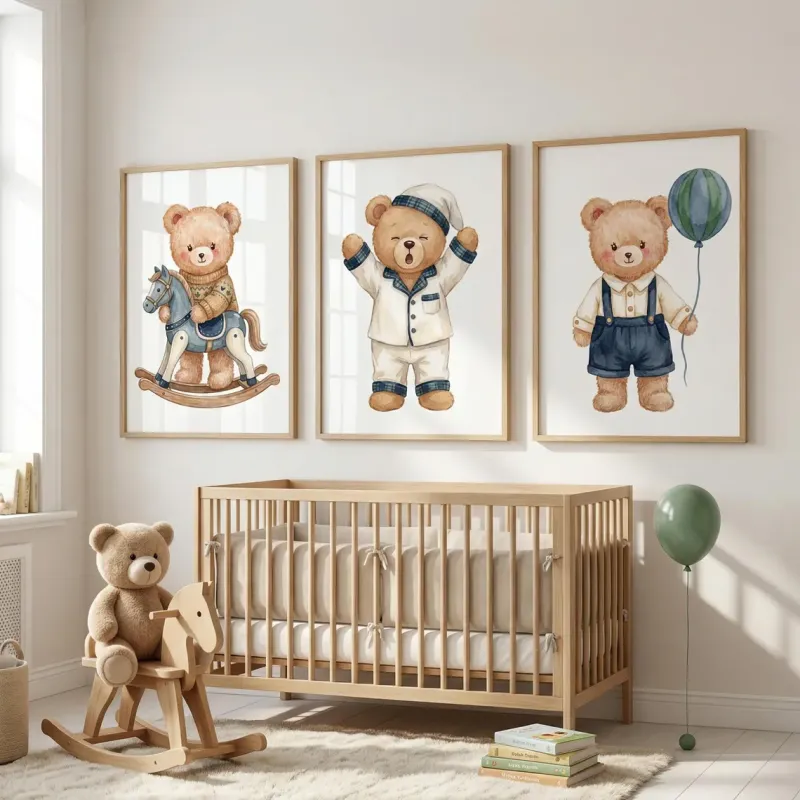
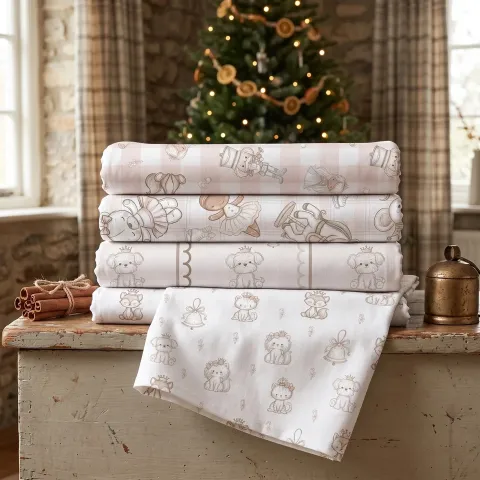
Pick a t-shirt, mug, tote bag, trucker cap or phone case from the catalogue and set the scene: a theme like Christmas, Summer or Halloween, Indoor or Outdoor, and a Flat lay, Front or Angled camera. Got blank product photos you like? Smart Mockups puts every new design on all of them at once, and Mockup Merge blends a design into one photo, keeping its light and shadows.
The problemOne design on one shirt makes a thin shop.
#4
In the studio
One design,a whole collection.
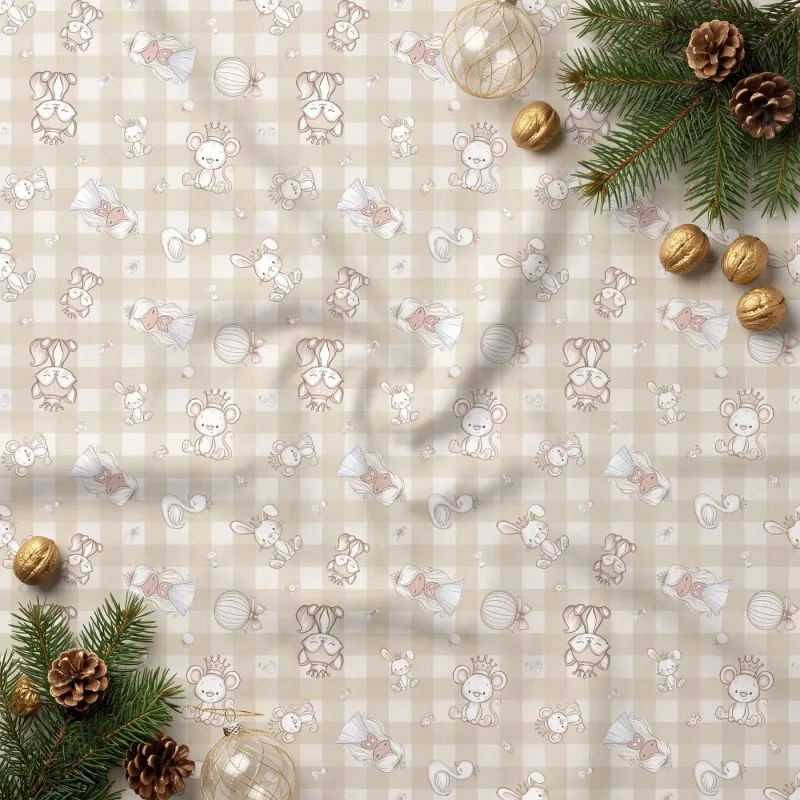
Recolour the design into new palettes with Colourways, then repeat its motifs in Seamless Studio for all-over prints like blankets, pillows or wrapping paper. On the Studio plan, Create product exports 300 DPI files sized for real products, such as a straight 20 oz tumbler.
How to make print on demand designs that print sharp.
Your print provider prints exactly the file you send. Too few pixels, a white box or a soft edge ends up on the product, and the buyer sees it before you do. Here's how to get the file right, then turn one design into a range.
1Work out the pixels first
Print size is pixels divided by DPI, and most providers ask for 300 DPI. Multiply each side in inches by 300: a 12 × 16 in t-shirt print area needs 3600 × 4800 px, a 10 × 10 in tote print 3000 × 3000 px and an 11 × 14 in hoodie print 3300 × 4200 px. Each provider lists the print area for its own blanks, so check theirs before you start. Image Upscaler makes small art several times bigger, and Change DPI then sets the 300 DPI value without touching the pixels.
Most providers want a PNG with a transparent background, so the colour of the shirt or mug shows around the art. Background Remover gives you one at the original pixel size, a whole batch at a time, and Edit cutout trims the empty space and tidies the edges. For decals and cut vinyl, the PNG to SVG Vectorizer turns PNG, JPG or WebP into an SVG with clean edges at any size.
Recolour the design with Colourways on Pro and Studio: pick the colour to replace and the new one, and every image in the set changes, with no credits used. Repeat its motifs in Seamless Studio for all-over prints. On the Studio plan, Create product exports 300 DPI files sized for items like a straight 20 oz tumbler at 9.3 × 8.2 in, so the pattern fits the wrap without guesswork.
The free mockup from a print provider is the same catalogue photo every seller of that blank gets. Product Mockups puts your design on the product in a scene you choose, at 2K on every plan and 4K on Pro and Studio, with no watermark. Smart Mockups, from Pro, takes your own mockup photos and PSDs and puts up to 8 designs on all of them in one bulk run, made on your device with no credits. Custom Mockups starts from a photo of a product you already have.
You can use what you make here commercially, on every plan, as long as you hold the rights to anything you upload. We can't promise an AI result is unique, and print providers and marketplaces have their own rules, so check each design for brand names, characters and slogans someone else owns before it goes live.
“It's very easy to use, creates incredible results, and allows me to save a huge amount of time when creating mockups for my Etsy listings.”
Marie, Print-on-demand seller on Etsy
Questionssellers ask.
What file does a print on demand provider need?
Most ask for a PNG with a transparent background at 300 DPI, sized to the product's print area: multiply inches by 300 to get the pixels. Each provider lists the exact size for its products. Background Remover gives you the transparent PNG, and Image Upscaler adds pixels when the file is too small.
What size should a t-shirt design be?
It depends on the provider's print area. At 300 DPI, a 12 × 16 in front print needs 3600 × 4800 px. Start big: making a file smaller keeps it sharp, while stretching a small one makes it soft. Image Upscaler is the fix when your art is smaller than that.
Can I make t-shirt mockups with Mockably?
Yes. Product Mockups has t-shirts in its catalogue alongside mugs, tote bags, trucker caps, phone cases and wall art. Upload your design, pick the product and set the scene.
Can I create print on demand designs with AI?
Yes. Image Creator turns a written description into artwork, with a choice of image models and aspect ratios. Your prompts and images stay private in your account unless you share them, and you can use the results commercially, subject to the rights of others in anything you upload.
Can I mock up many designs at once?
Yes. Smart Mockups, from Pro, puts up to 8 designs on a whole set of your own mockup photos in one run and downloads them as one ZIP. In Product Mockups you can queue several scenes in one run.
Do the mockups have a watermark?
No. Mockups download without a watermark, and you can use them on your product pages, in ads and on social media.
Is Mockably free to try?
Yes. There is a free plan, and new accounts get 20 free credits without a credit card. Paid plans add more credits and storage; the pricing page lists what each plan includes.
 #1Create